Description
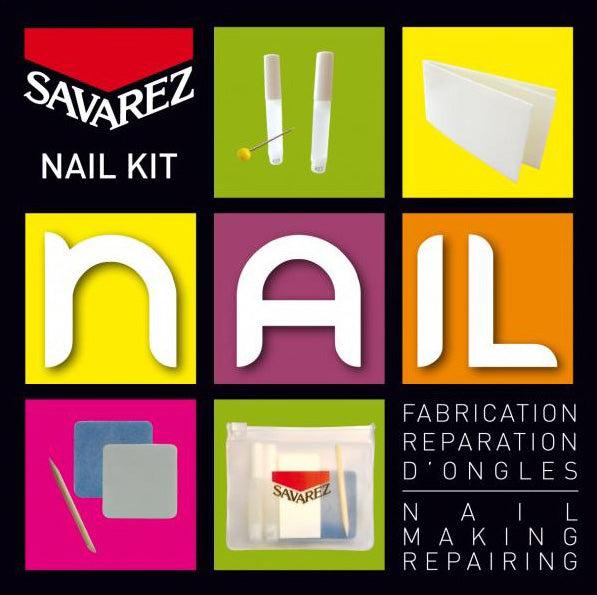
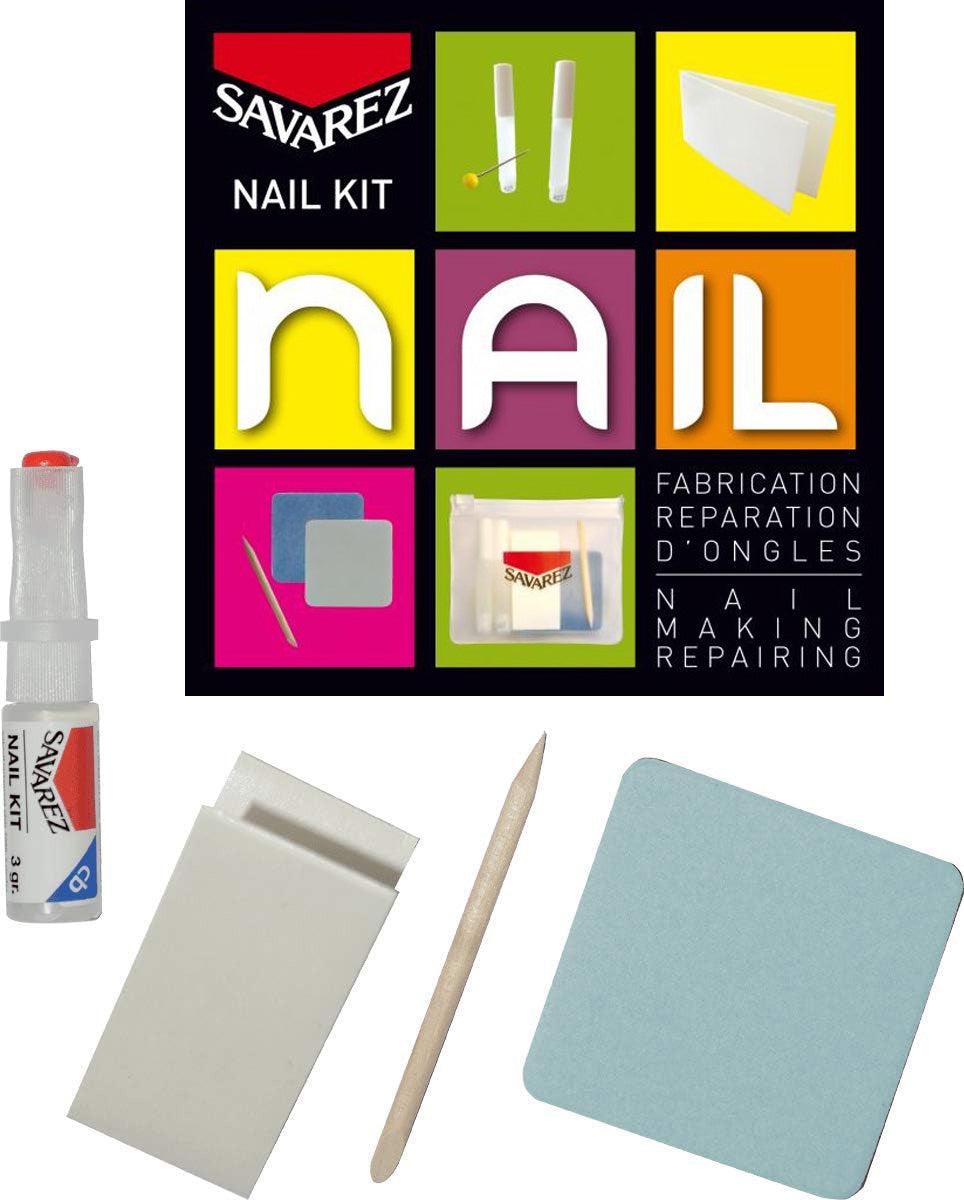
Savarez Nail Repair Kit
Contents:
- Band of self-adhesive silk
- 1 tube of resin
- Nail file with two different grained surfaces
- Small stick to apply resin to silk
- Needle to clear tube's tip
- Detailed user's guide
Instruction for use
a) How to prepare your nail
* - It is necessary to operate on a perfectly clean and dry finger and nail.
* - Clean off all traces of previous application with a solvent, preferably without acetone, and dry.
* - If nail is broken cut it as short as possible and shape.
b) How to prepare the silk
* - Depending on the hardness you wish for your nail, cut out 1, 2 or 3 pieces of silk of the same size.
* - In most cases, 2 pieces are recommended. Only one piece gives you a very flexible nail (some guitarists use 3 pieces and sometimes 4 for the thumb and 2 for the other fingers).
* - The size of the silk depends on the width of the initial nail and the desired length of the false one. For the width, cut a piece of silk to cover the initial nail. Keep 3 to 4 mm longer than the total required length.
* - To strengthen the nail : only cover the part to be strengthened. Do not cover the base of the nail.
* - To repair a broken nail : position the silk 3mm below the broken part, then define the required length.
* - The silk will follow the shape of your nail. However it remains possible to give a different shape that will help playing your style.
c) How to apply the silk
* - Remove the protective film of the adhesive side of the silk and apply the silk on the nail by pressing.
* - Use the wooden stick to spread 1 or 2 drops of resin evenly, to cover the whole surface of the silk. It is important to impregnate the two sides at the end of the silk and to make the edges stick.
* - You can add 1 or 2 layers of resin to obtain the desired hardness. The drying will take some more time.
* - When the surface looks dry, sand the base of the silk in order to smooth down the surface of the nail.
* - Apply the 2nd or the 3rd piece of silk by the same way. Wait for the resin to dry (at least 3 minutes) between each operation. The nail hardness depends on the number of layers.
d) How to shape your "Savarez Nail"
* - Cut your nail close to the final desired shape and let your nail dry for another 5 to 10 minutes before sanding to the final shape.
* - Sand the nail for definitive shape and thickness.
* - Remove any extra resin. Eventually the nail can be varnished afterwords.
e) How to remove it
* - Press the two sides of the silked nail – this should remove its edges.
* - If the silk does not come off easily, do not pull down. Use a solvent with acetone to remove the "Savarez nail" safely.
Recommendations :
Firmly close the tube after use. Store the second tube in a cool place.
Warnings :
* Contains cyanocrylate. Do not apply to thin, irritated or infected nails.
* In case of eye contact, flush with water and get immediate medical help.
* Keep away from children.

